These handbags are based on very talented Kate's pattern which you can request for
at her blog. She has an excellent
FAQ site as well. It was great when I had to face K11tog challenge.
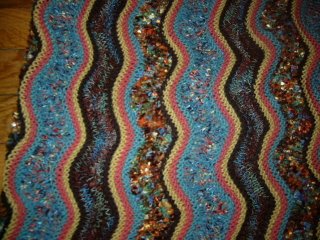
For the lime version, I used 6 balls of Idéna Cotton Lux in color 570, and four skeins of On-Line Clip color 57 for the aubergine version. The latter is a heavier yarn and the handbag is bulkier and more textured. The handles are from MJ Trimming. I just had to use these faux tortoise ones.
In order to fit the handles, I reduced the number of stitches at the top by 1/3. Once the knitting was done, the dimensions of the bag were determined. I wanted the bag to be heavily textured. For that, the lining had to be smaller than the knitted fabric, particularly in height.

The width of the lining is the same as the knitted fabric.

The paper pattern piece seen above has 5/8" seam allowances at the bottom and sides. The top will be flash with the handbag opening and no allowance is added. The lining has three layers: black fabric as outer lining, heavy fusible interfacing, and cotton print as inner lining.

First, the outer lining was constructed by fusing the interfacing to the wrong side of the black fabric, sewing the bottom and two sides with right side together, turning inside out, and ironing it to shape.

The inner lining has pockets which was made with the same cotton print. For firmer pocket, the same interfacing was fused to one side only.

The finished pocket piece was sewn onto the right side of the inner lining fabric.

Sew the inner lining like the outer lining. As you can see in the photo above, the inner lining was cut on fold along the bottom.

Slip the inner lining into the outer lining as shown and sew the top edge through all three layers.

With the wrong side out, place the knitted bag under the lining. At this point, the knitted bag is much larger than the lining.

Tack the lining to the knitted bag at four corners and between corners.

Here is a close up of tucking.

Now, it is time to flip the bag right side out! The bag has the nice shape I wanted.

Hand sew the knitted facing onto the lining, attach the handles, and DONE!!
.JPG)


.JPG)